ALL PROFESSIONAL ROOFING
Fully
Licensed, Bonded & Insured
Licensed, Bonded & Insured
I created this simple page with the idea of making the roof understanding process easy with some pictures and a little description of what you may find on a typical roof replacement estimate.
Page under construction...... Hard hat required!
Page under construction...... Hard hat required!
After removing old shakes, this is what we can expect to find.
Going from roof shakes to composition shingles
After removing old shakes, we have to inspect for damage and repair if/as needed.
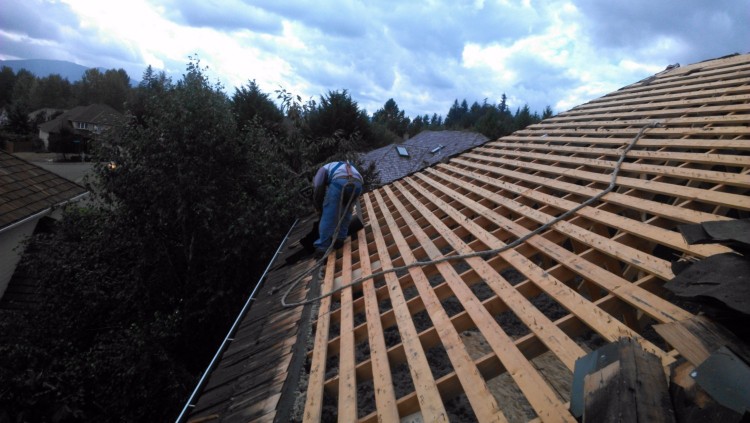
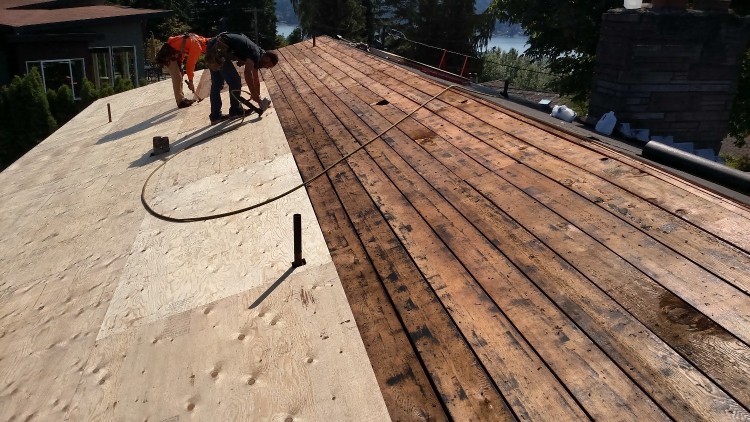
We make sure that all the structure is o.k. then, we have to install 1/2 inch plywood. Either OSB or CDX for a smooth surface in order to install composition shingles.
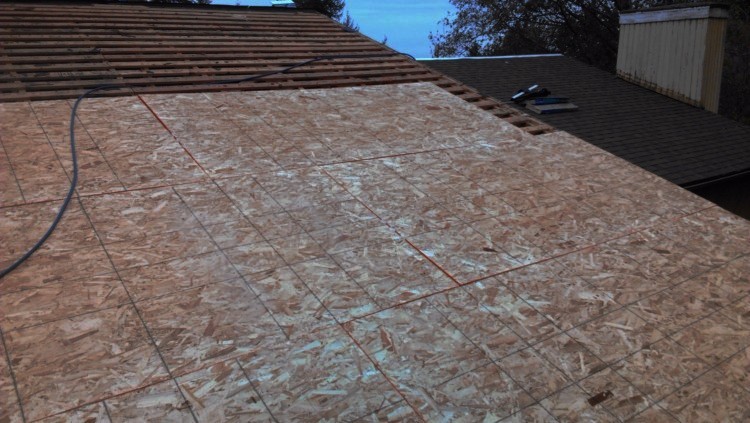
This is how OSB board looks like.
Its cheaper by the way
Its cheaper by the way
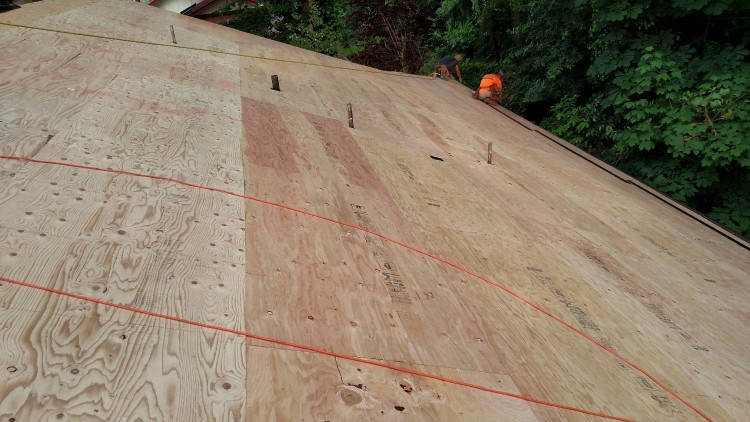
This is how a 1/2 inch CDX plywood looks like.
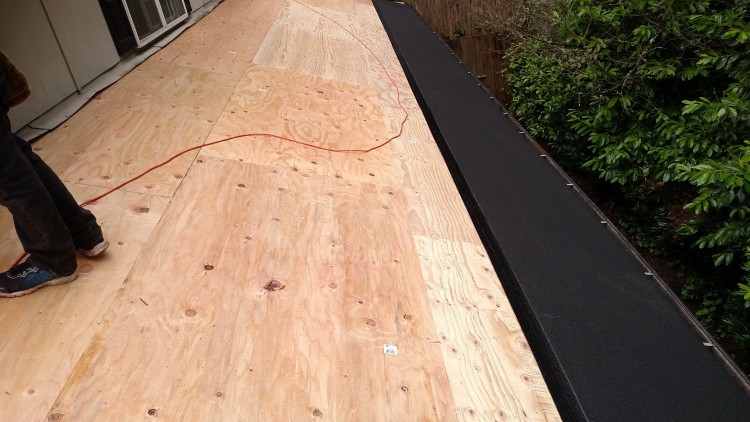
Ice and water shield installed on gutter edge
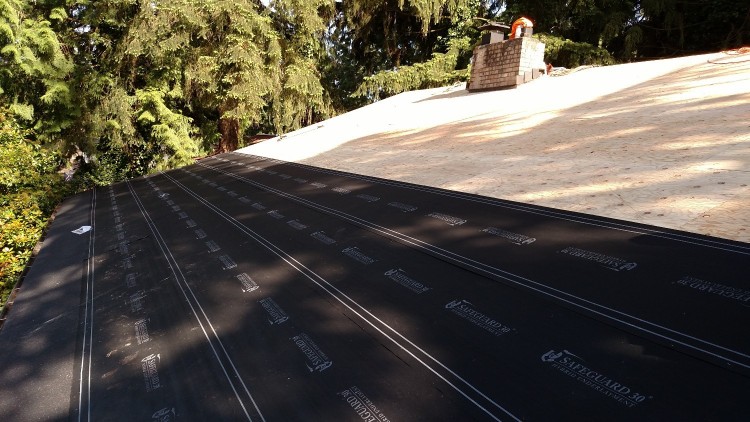
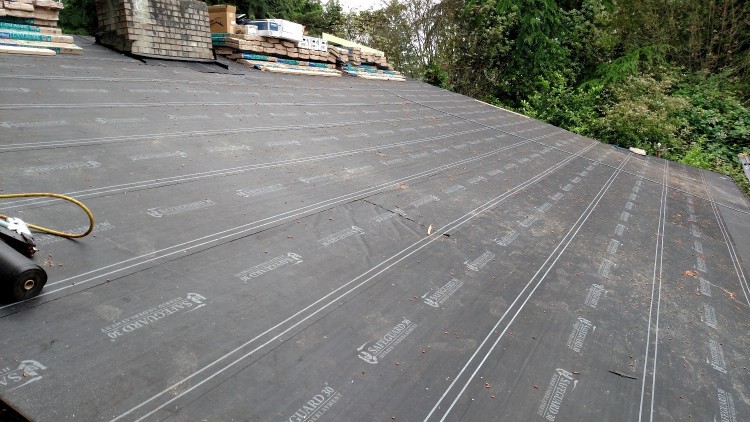
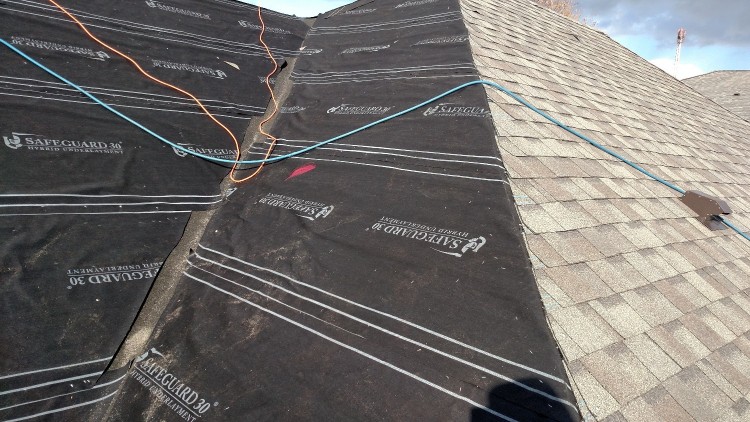
Safeguard 30 underlayment installation over entire deck as a vapor barrier
Soon as we install Safeguard 30, we are fine in case that we get some showers overnight
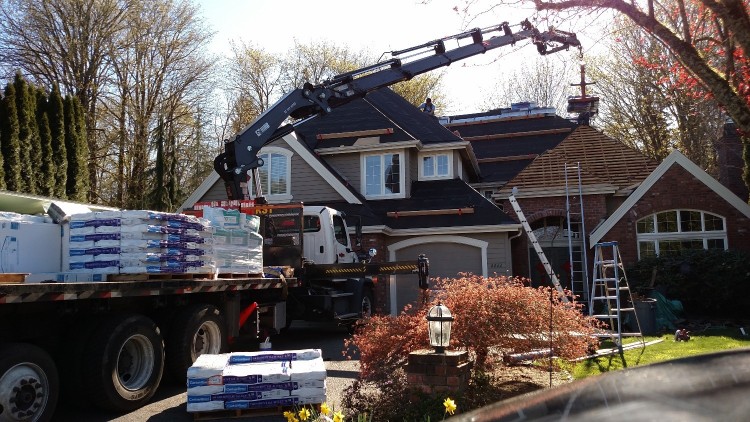
We are ready to load the new roof shingles. A "big truck shows" to do the work.
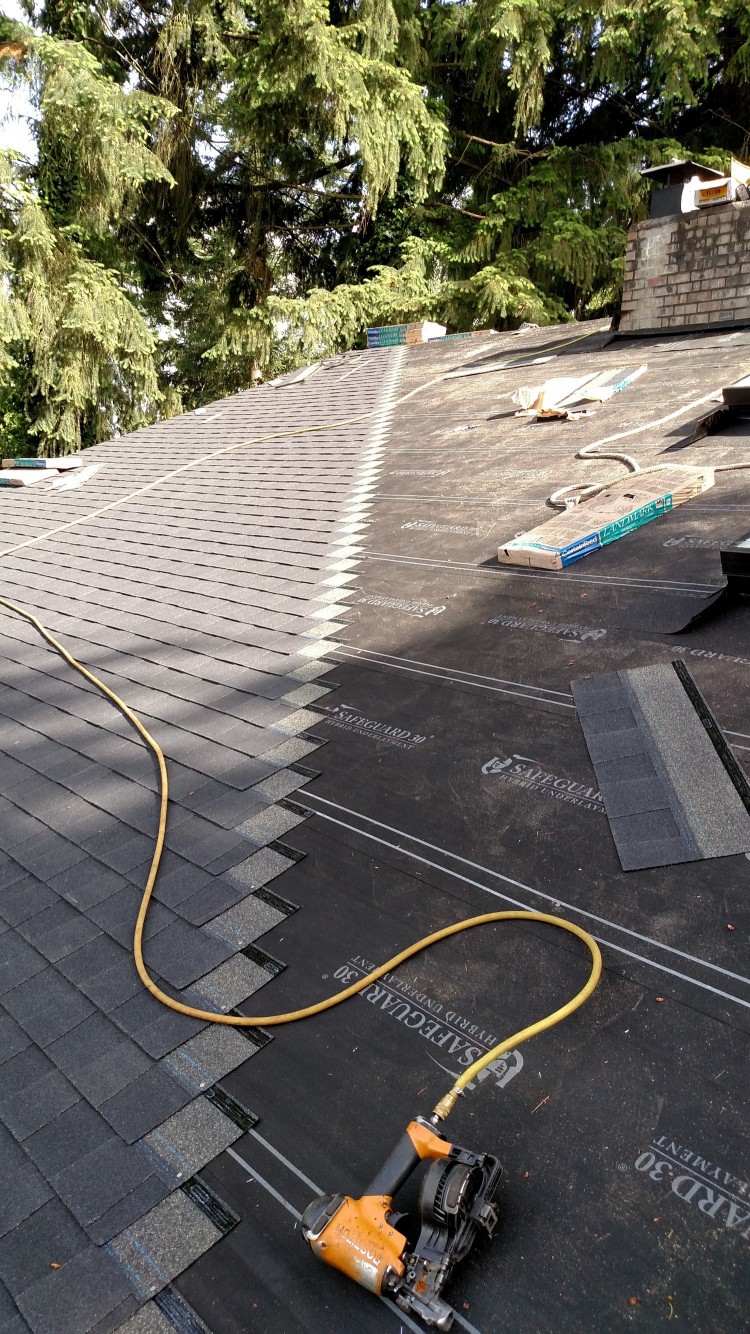
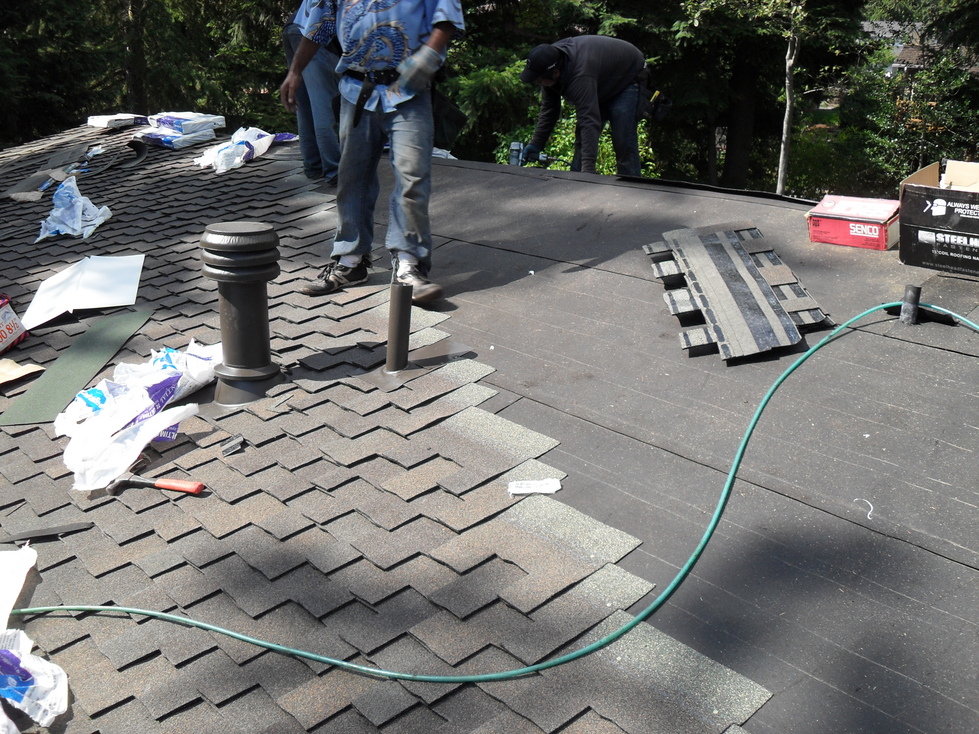
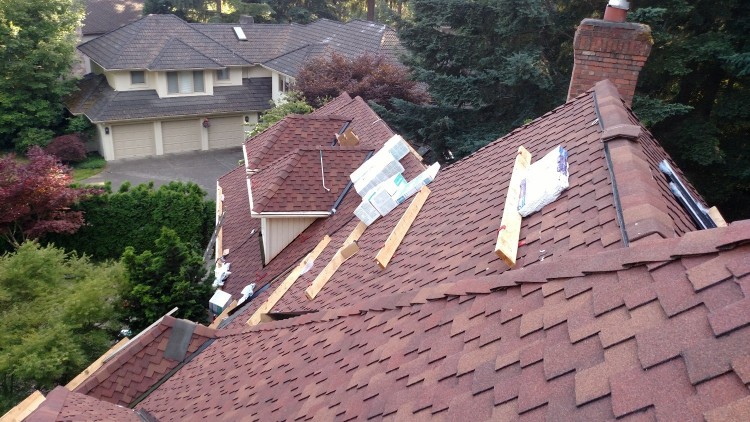
Roof installation starts. In this case, CertainTeed Landamrk shingles installed with hot dipped nails.
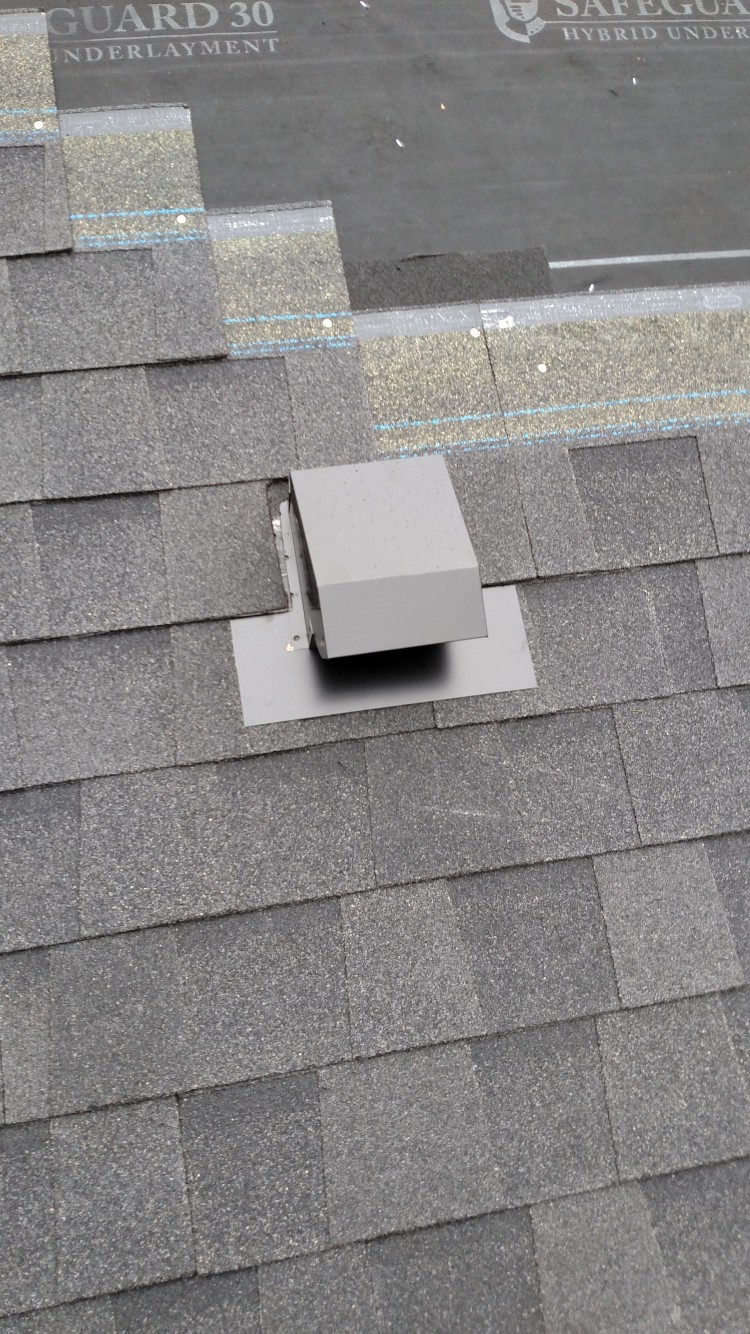
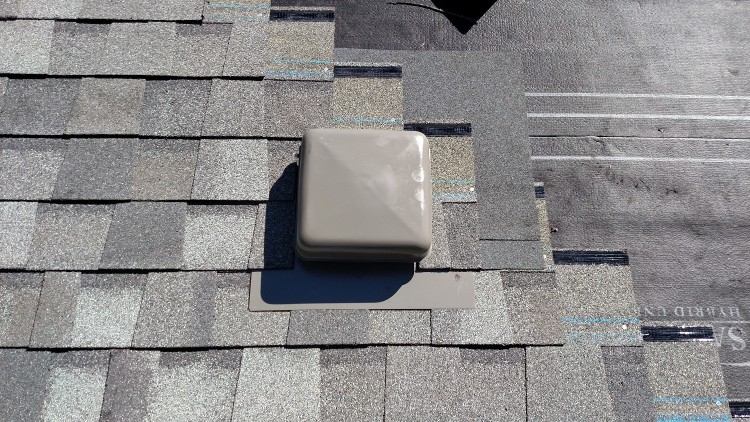
We have to replace existing vents like this one: a 4 inch flapper vent used for bathroom fans.
Air vents for proper attic ventilation need to be replaced
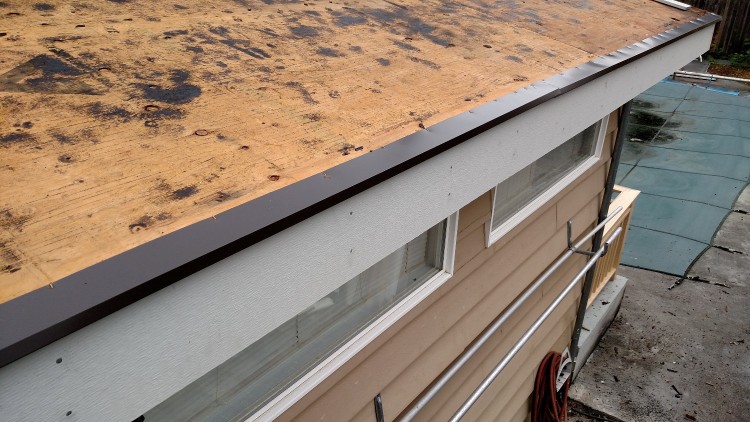
1x3 metal flashing on gutter edge before we install the underlayments
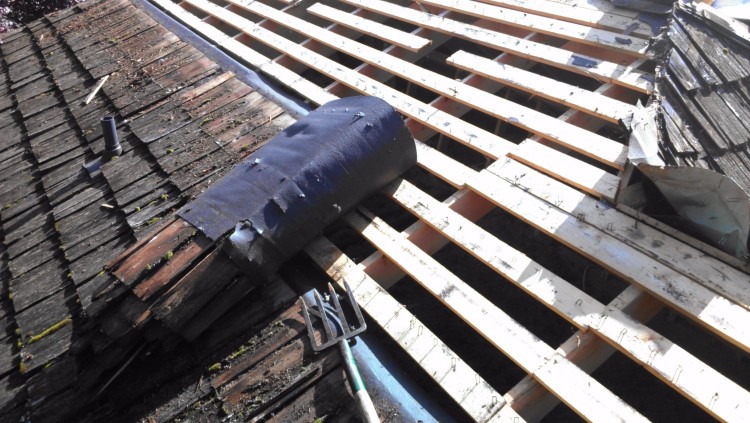
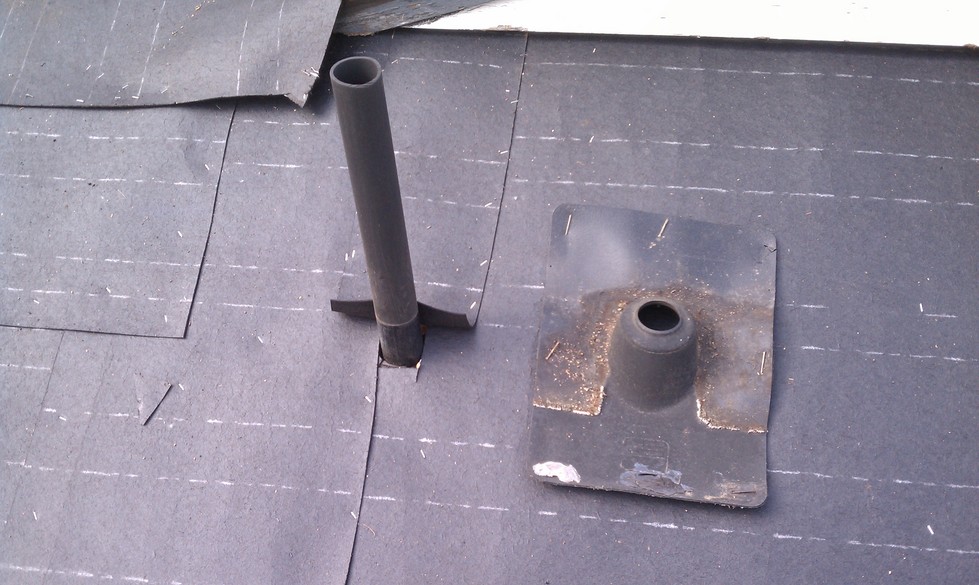
Roof plumbing vent with the old "rubber flashing" side by side.
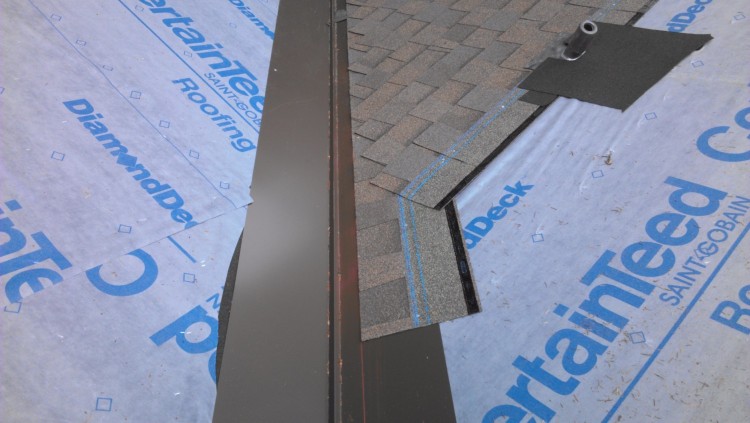
New (brown) "W" valley installed with Landmark shingles in one side.
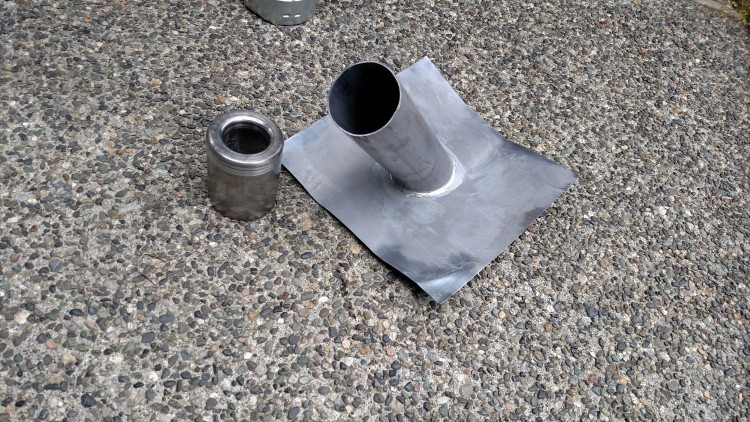
New led pipe cover with cap (50 year warranty) ready to be painted and installed
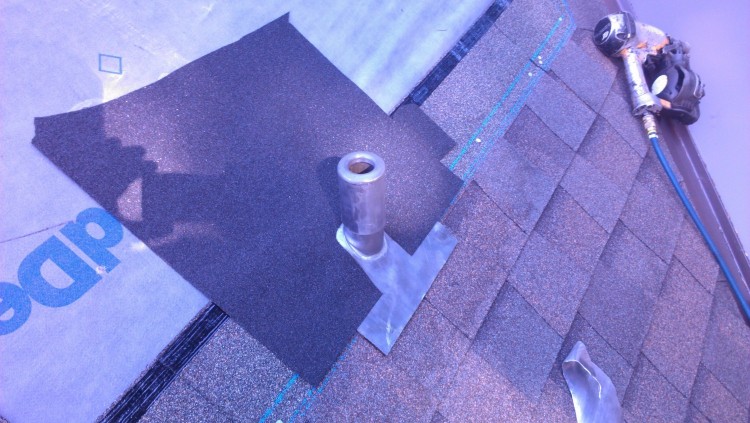
New led pipe with cover and ice and water shield on top over new Landmark shingles
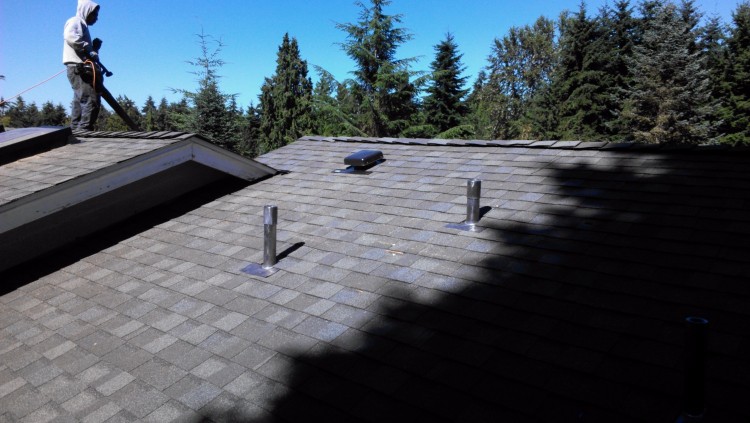
2 plumbing vents with new led pipe covers on a Landmark roof
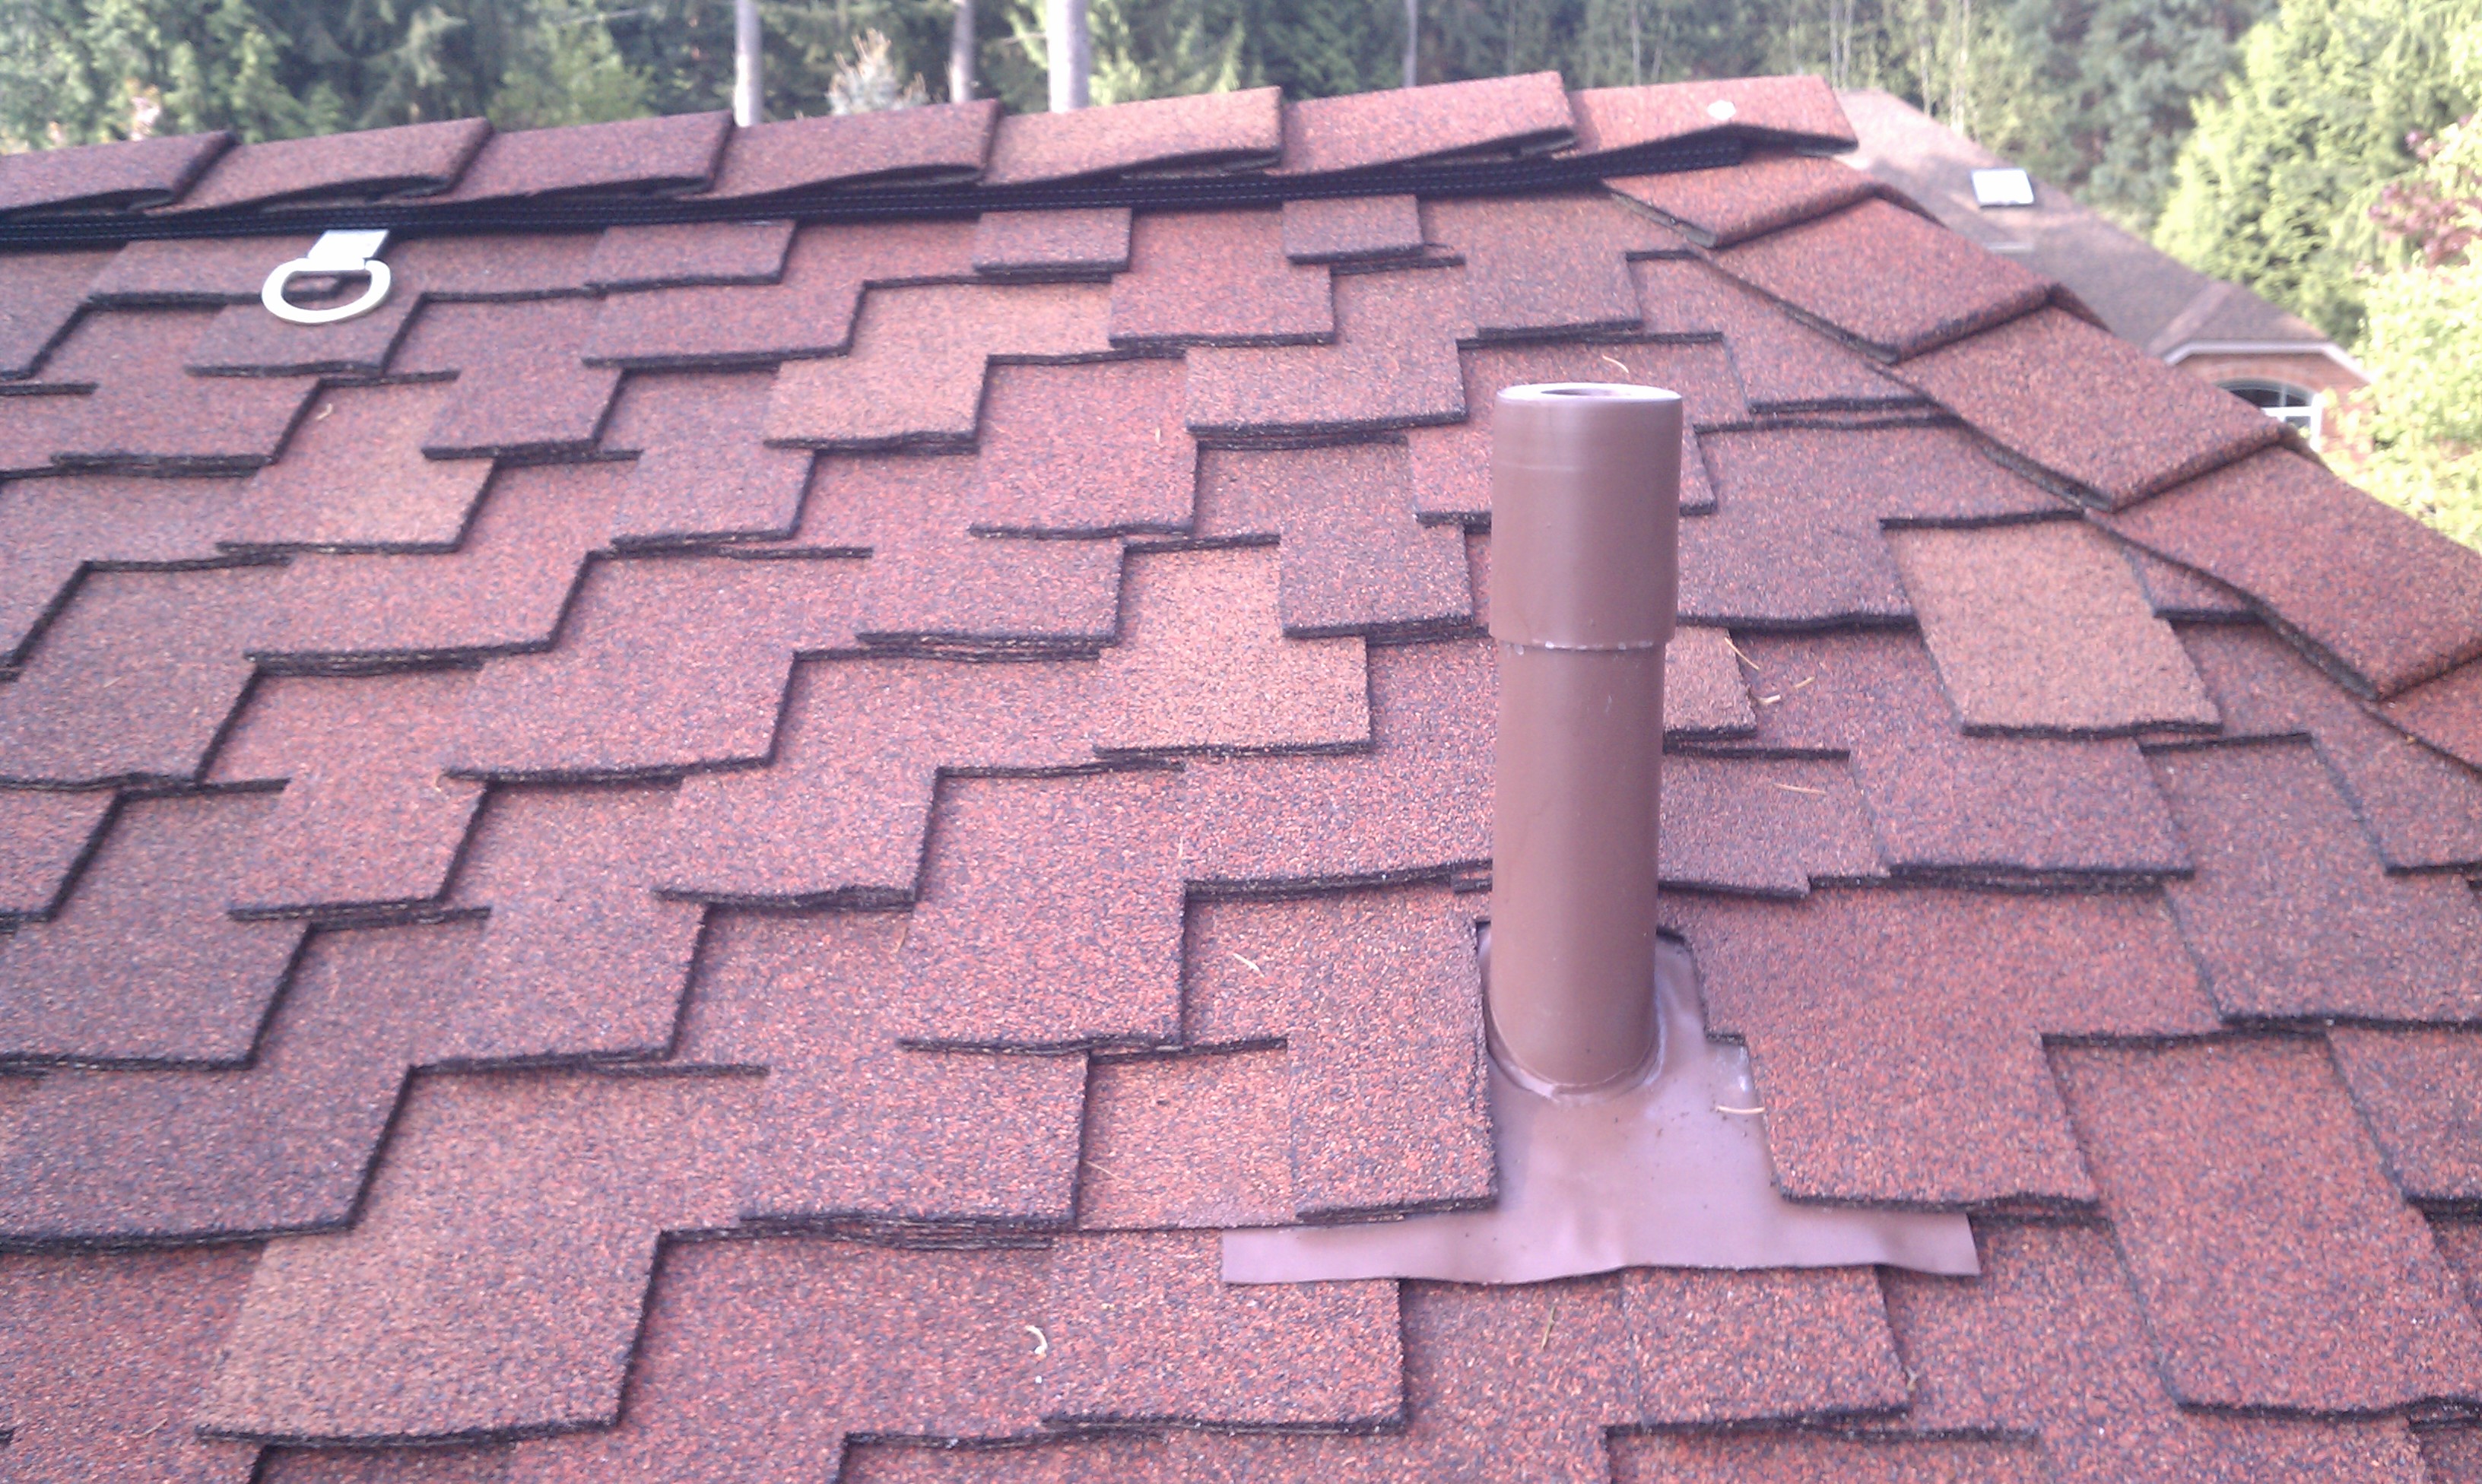
Plumbing cover on a Presidential TL roof
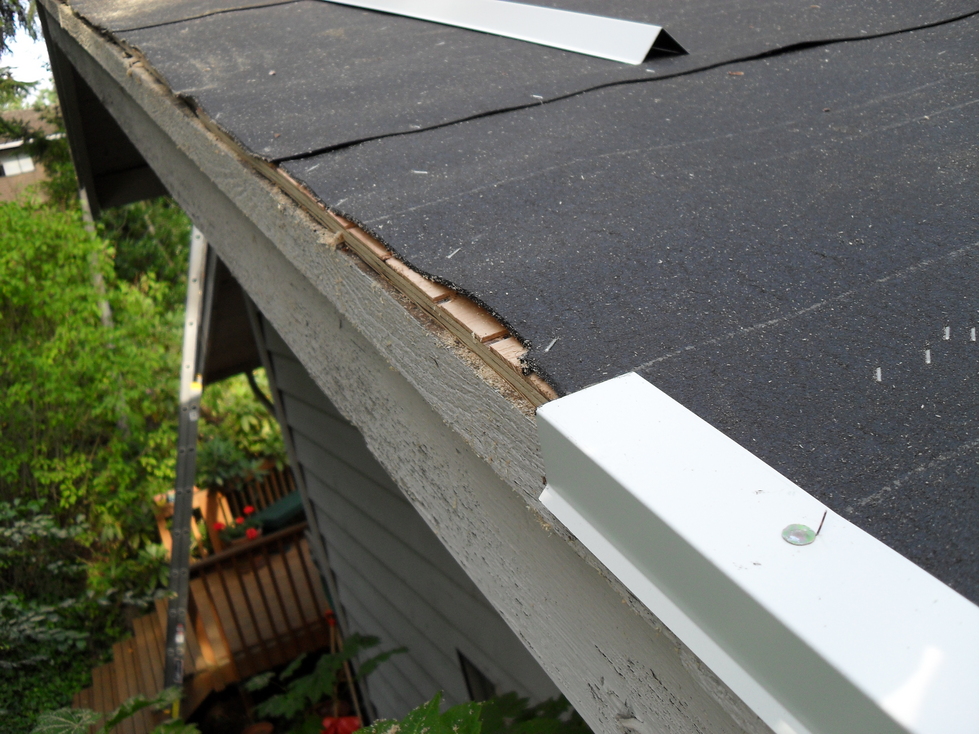
Detail: "Drip edge metal flashing on gable ends to cover new plywood edges
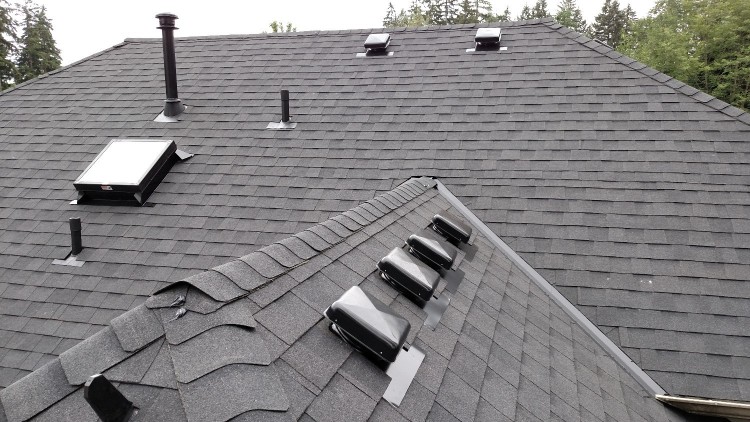
New Roof installed with all the accessories
New hip and ridge cap: Shadowridge from CertainTeed
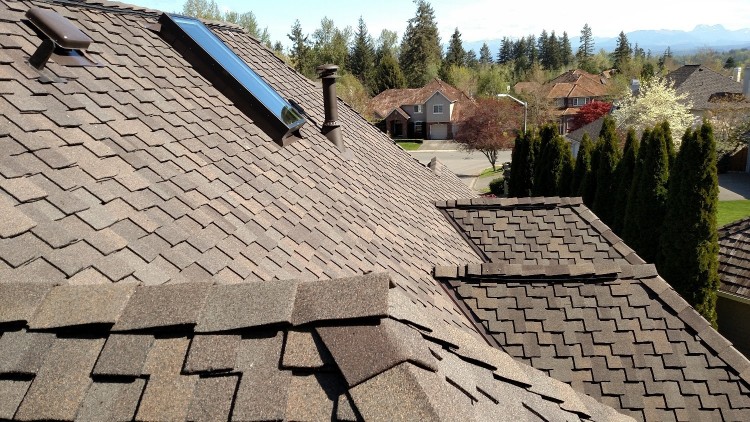
Finished roof with CertainTeed Presidential TL. Color: Autumn Blend
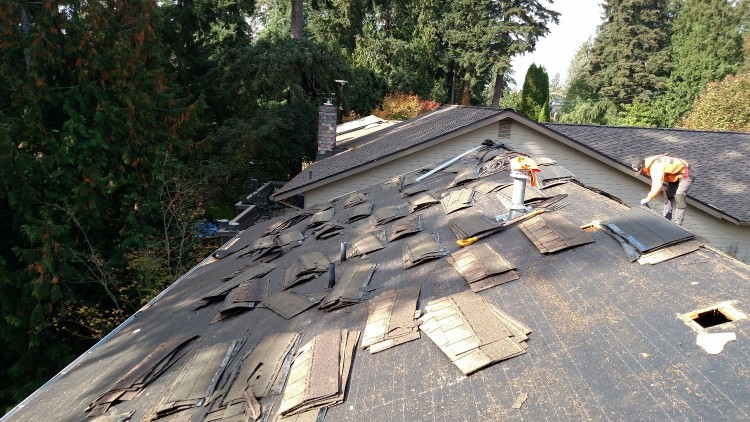
Steps: Going from old composition shingles to new composition shingles
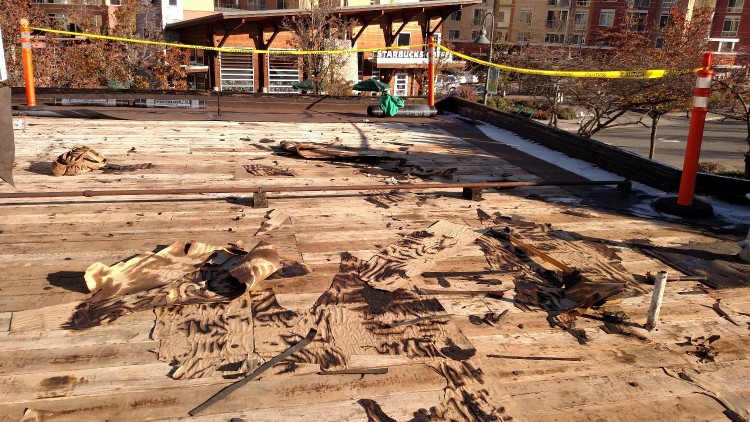
Removing old composition shingles
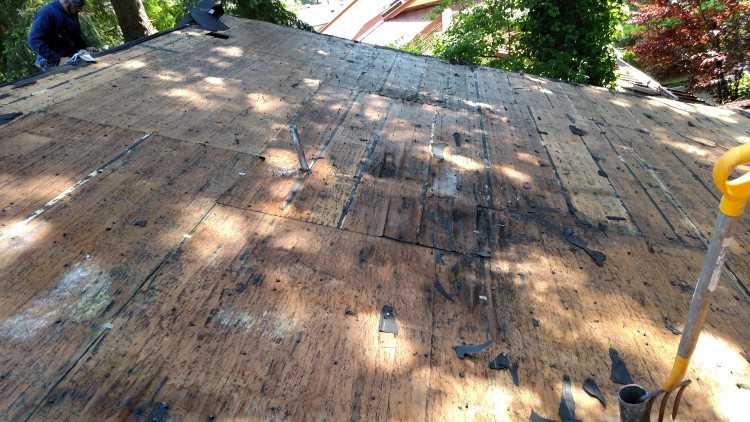
After removing the old composition roof, we have to inspect for plywood damage (due to old or current leaks). Just like this pictures shows bad plywood.
We replace/repair as needed in order to have a solid surface for the new roof
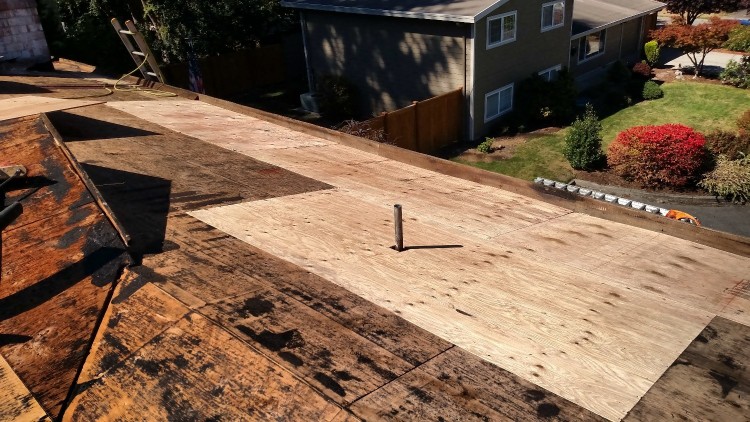
Sometimes we find slap sheeting under the old shingles and is required for warranty purposes to install plywood on top of that for a complete smooth surface
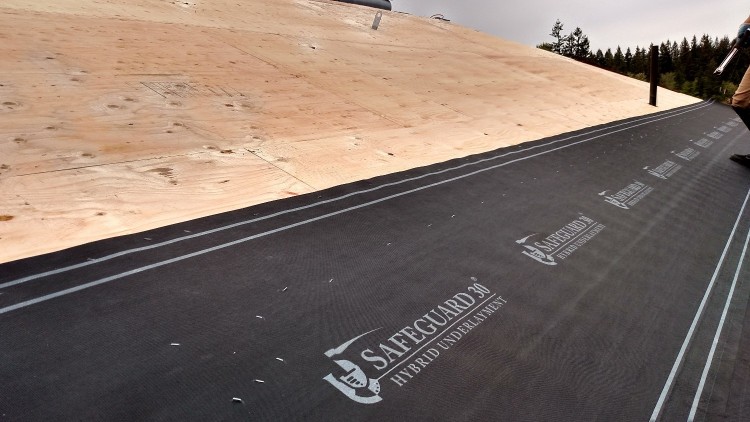
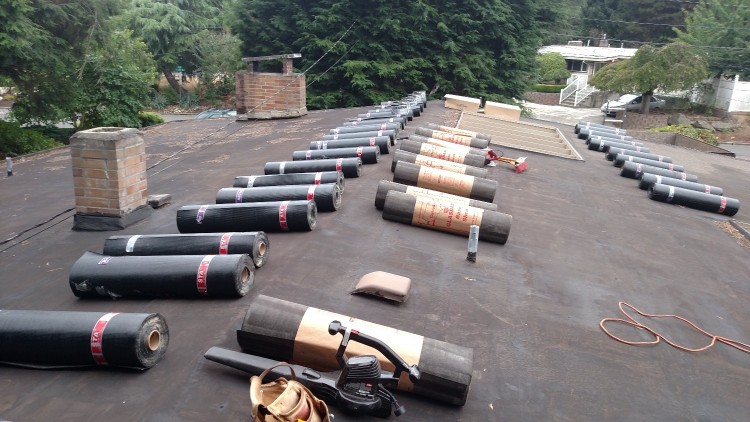
Soon as we make sure that we have a solid or new decking, we proceed to install Safeguard 30 underlayment as a vapor barrier over entire decking


Some times, at the time of roof removal, we find more than one layer of roof shingles that need to go away. Installing a new roof on top of the old one shorten the life of the new one.
Landmakr shingles installed on this house
Finished product: CertainTeed Landmark shingles: Color: Weathered wood
Two roofers in action installing CertainTeed Presidential TL and another one just making plans to go dancing with the same clothing that he is wearing.
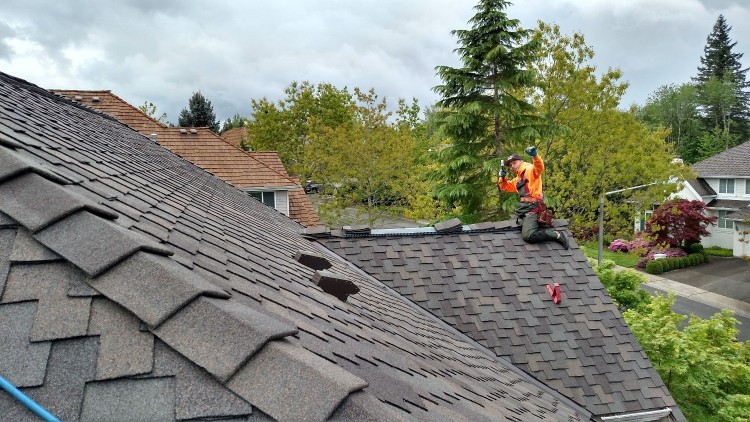
That means Presidential TL roof its almost done and it happens to be Friday.
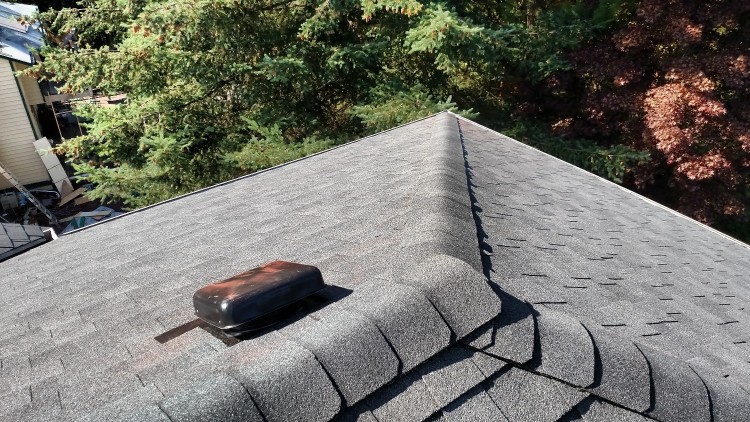
This is how Mountain Ridge cap looks like.
Finished roof with CertainTeed Presidential TL. Color: Spanish Tile
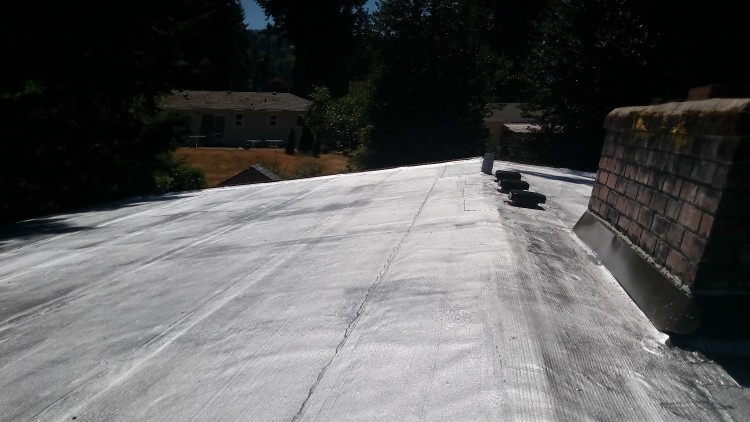
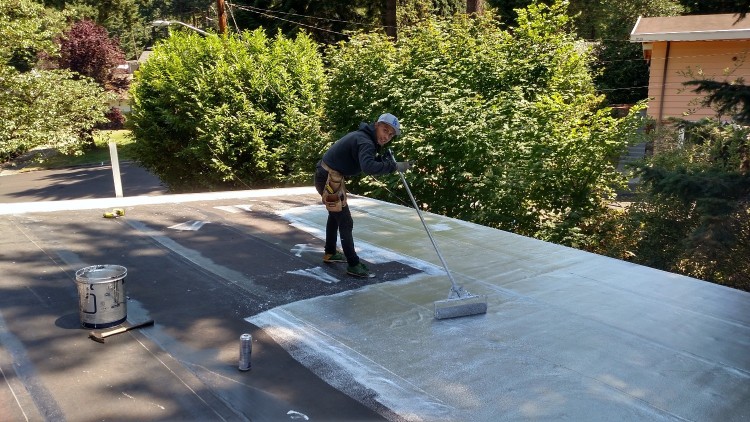
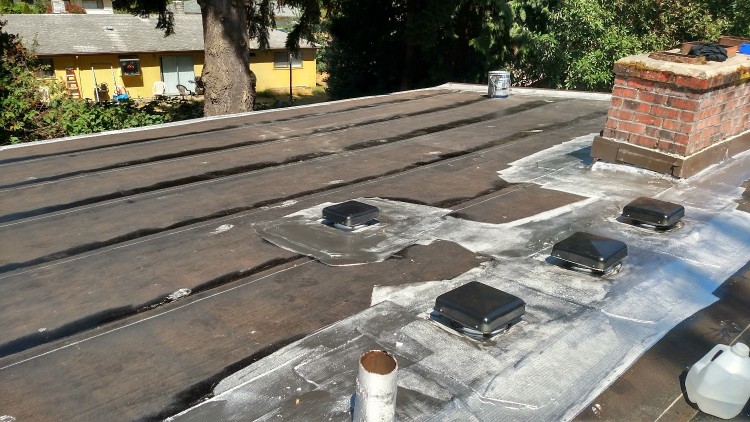
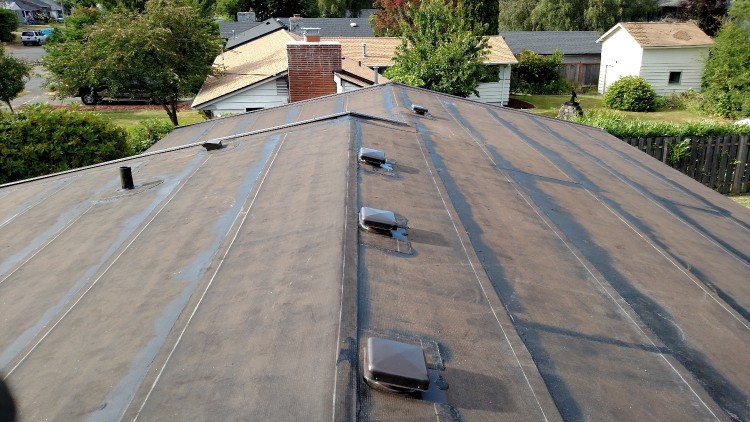
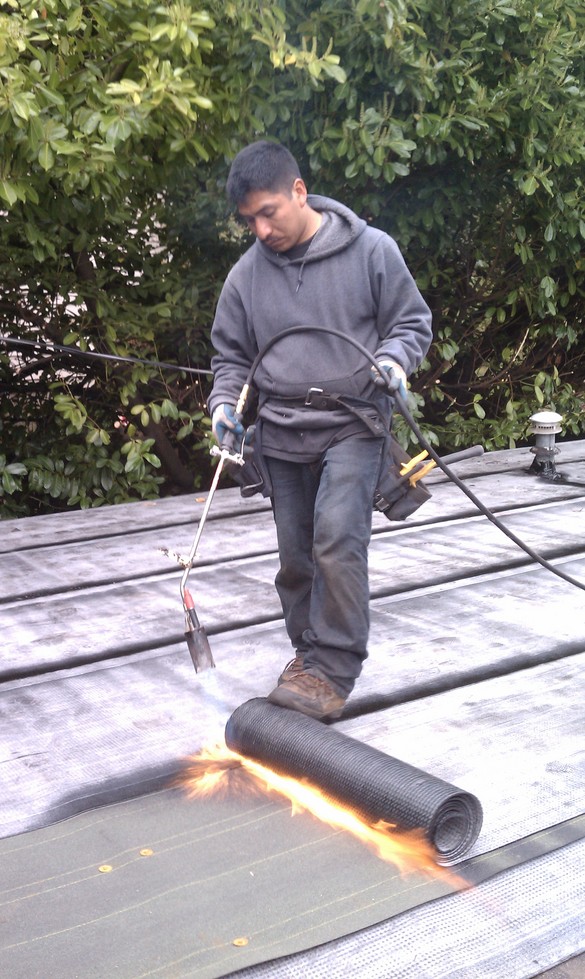
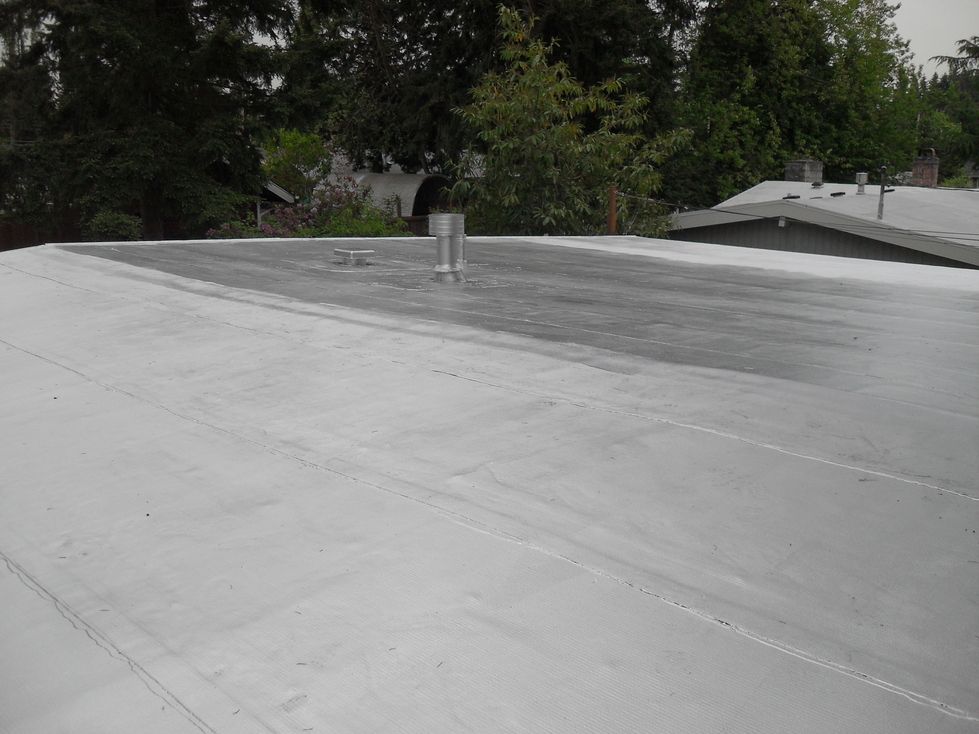
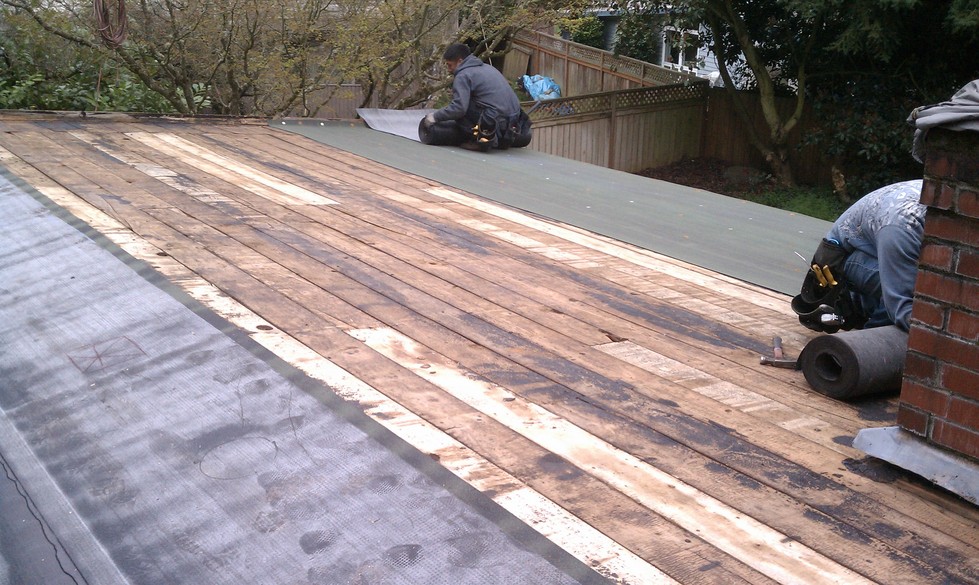
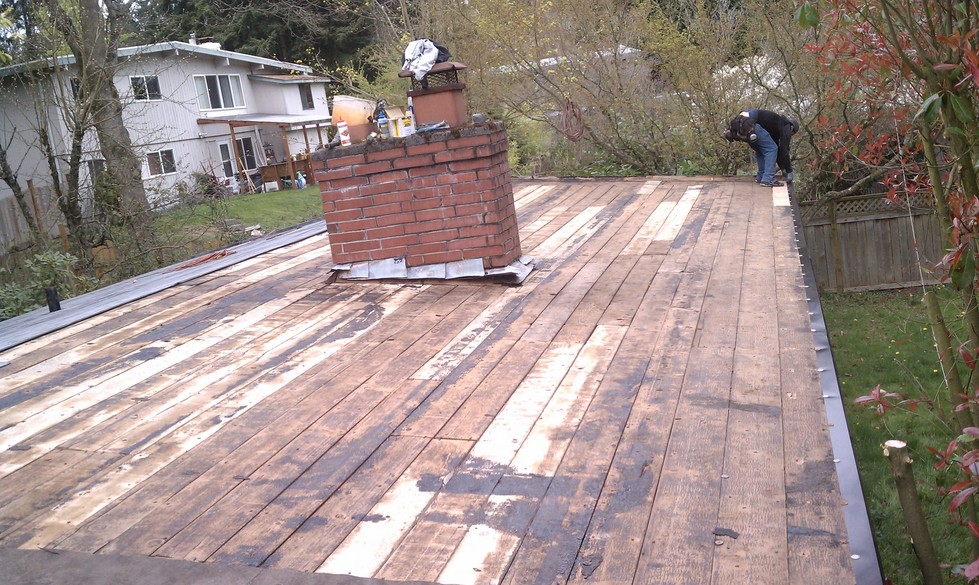
Going from torch down roofing to torch down roofing. (Low slope/flat roofs)